
Introduction
Table of Contents
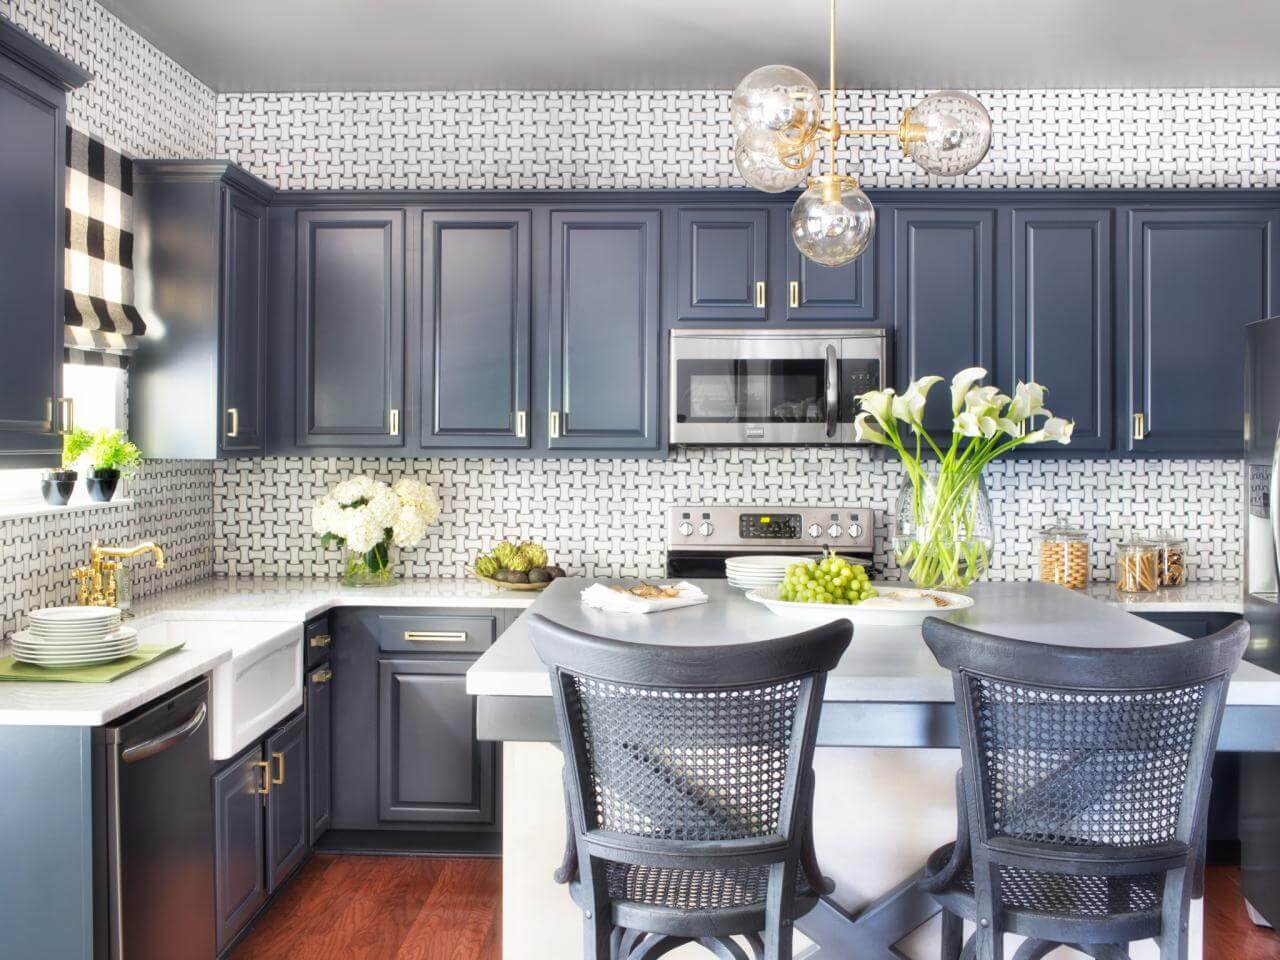
Painting kitchen cabinets is one of the most effective and budget-friendly ways to give your kitchen a fresh, updated look. Whether you’re going for a modern aesthetic or a rustic charm, a new coat of paint can transform old cabinets into stunning focal points. However, achieving professional-quality results takes planning, the right tools, and careful execution. In this guide, we’ll share essential tips to help you paint your kitchen cabinets like a pro, avoid common pitfalls, and ensure a long-lasting finish.
Plan and Prepare Thoroughly
Clear the Area
Before you begin painting, remove everything from your kitchen cabinets—including dishes, cookware, and pantry items. Cover countertops, appliances, and floors with plastic sheets or drop cloths to protect them from paint splatter.
Label and Organize
Remove cabinet doors, drawers, and all hardware such as knobs, hinges, and handles. Label each piece and its corresponding cabinet location to make reassembly easier.
Choose the Right Paint and Tools
Paint Type
For cabinets, it’s best to use a high-quality enamel paint that dries to a hard finish. Options include:
- Oil-based paint: Durable but has a longer drying time and strong fumes
- Water-based acrylic enamel: Easy to clean and low odor, with decent durability
Tools You’ll Need:
- Paintbrushes and foam rollers (for smooth finishes)
- Screwdriver (for removing hardware)
- Sandpaper or sanding block (120- to 220-grit)
- Degreaser or mild detergent
- Painter’s tape
- Primer (bonding or stain-blocking primer)
- Tack cloth
Clean and Sand for Better Adhesion
Clean Thoroughly
Cabinets accumulate grease and grime over time. Use a degreaser or mild detergent to clean all surfaces thoroughly. Allow them to dry completely before sanding.
Sanding Tips
Sanding is critical for paint adhesion:
- Sand all surfaces lightly to remove the glossy finish
- Focus on edges and corners
- Use a tack cloth to remove sanding dust
Prime Before Painting
Priming ensures better adhesion and hides stains or dark wood tones. Use a high-quality bonding primer suitable for kitchen environments.
How to Prime:
- Apply a thin, even coat with a roller or brush
- Let it dry according to the manufacturer’s instructions
- Lightly sand after the primer dries for a smooth finish
Apply Paint in Thin, Even Coats
Apply multiple thin coats rather than one thick layer. This reduces drips and results in a smoother, more professional look.
Painting Process:
- Use a foam roller for flat surfaces and a brush for edges and corners
- Start with the back of cabinet doors, then move to the front
- Let each coat dry completely before applying the next
Allow Ample Drying and Curing Time
After the final coat, let the paint dry for at least 24–48 hours. Full curing can take up to two weeks. During this time, avoid reinstalling doors or using the cabinets excessively.
Tip:
Place painted doors on a flat surface to dry evenly and avoid dents or marks.
Reassemble with Care
Once everything is completely dry and cured, reattach hardware and reinstall cabinet doors and drawers. Double-check that everything is aligned properly.
Maintenance and Care Tips
- Clean with a soft, damp cloth—avoid harsh chemicals
- Wipe spills immediately to prevent stains
- Consider applying a clear topcoat for added durability (especially in high-use kitchens)
Common Mistakes to Avoid
- Skipping the cleaning and sanding step
- Not labeling parts for reassembly
- Applying thick coats of paint
- Not allowing enough drying time between coats
- Using low-quality paint or tools
Conclusion
Painting your kitchen cabinets is a rewarding project that can dramatically enhance your kitchen’s look and feel. By preparing properly, choosing the right materials, and applying paint with care and patience, you can achieve a flawless, durable finish. Whether you’re tackling the job yourself or hiring a professional, these tips will help ensure your cabinet makeover is a success.
Take your time, follow each step, and soon you’ll be enjoying a refreshed kitchen space that feels brand new.