
Whether you’re giving your home a fresh new vibe or simply touching up a tired wall, interior painting is one of the most impactful and cost-effective ways to upgrade a room. But getting those crisp lines and perfect finishes requires more than just slapping on a coat of paint. This guide will walk you through expert tips and tricks to make your painting project look professional and last longer.
Choose the Right Paint Finish
Table of Contents
Paint comes in various finishes, and choosing the right one can make all the difference in your room’s appearance and functionality.
Common Paint Finishes:
- Matte/Flat: Great for hiding imperfections; best for ceilings and low-traffic areas.
- Eggshell: Slight sheen, ideal for living rooms and bedrooms.
- Satin: Easy to clean; great for kitchens and bathrooms.
- Semi-Gloss: Durable and washable; perfect for trim and doors.
- Glossy: High shine, often used for furniture or cabinetry.
Tip: Always test a small patch on your wall before committing to a finish.
Don’t Skip Surface Preparation
Preparation is key to a smooth and lasting paint job.
Steps to Prepare:
- Clean the walls to remove dust, dirt, and grease.
- Fill in holes or cracks with spackling paste.
- Sand rough spots and previous patches.
- Use painter’s tape to protect trim and adjacent surfaces.
Tip: A clean, smooth surface ensures better paint adhesion and a more professional finish.
Use Primer When Needed
Primer helps create an even base for the paint, especially on new drywall, repaired walls, or drastic color changes.
When to Use Primer:
- Switching from dark to light colors.
- Painting over stains or glossy finishes.
- Covering patched or repaired areas.
Tip: Use a tinted primer when covering dark walls—it makes it easier to hide the old color.
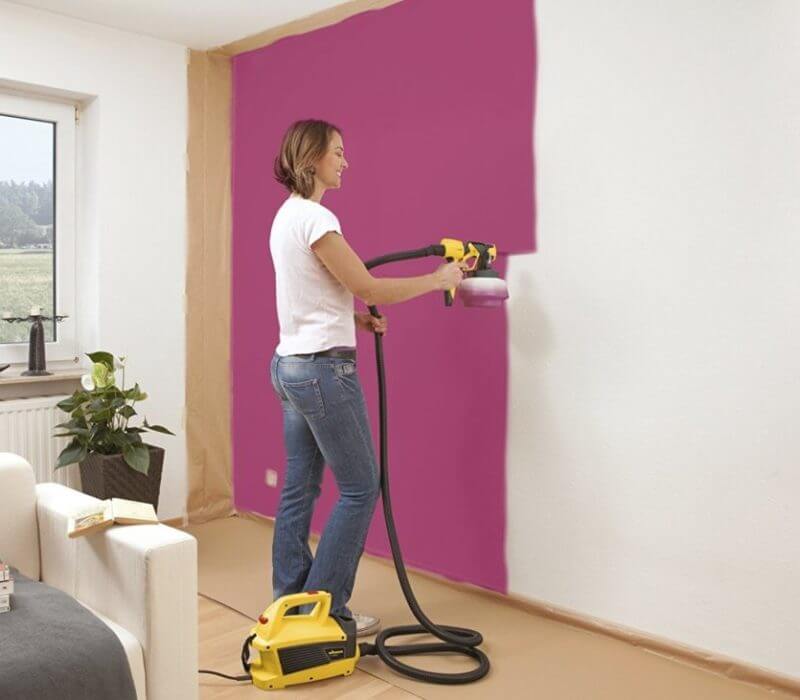
Invest in Quality Tools
Your painting tools can directly affect the finish quality.
Must-Have Tools:
- Angled brush for corners and trim
- Roller with appropriate nap for your wall texture
- Paint tray and liners
- Extension pole for high walls or ceilings
Tip: Cheap brushes may shed bristles and result in uneven application. Invest in quality.
Use the Right Technique
Technique matters more than you think. From how you load the brush to the direction you paint, each step contributes to the final look.
Tips for Brushing and Rolling:
- Don’t overload your brush or roller.
- Apply in a “W” pattern with the roller to prevent streaks.
- Use long, even strokes.
- Keep a wet edge to avoid lap marks.
Tip: Start from the top of the wall and work your way down.
Don’t Rush Drying Time
Each coat of paint or primer needs time to dry before the next one goes on.
Typical Dry Times:
- Latex paint: 4–6 hours between coats
- Oil-based paint: 24 hours
Tip: Follow manufacturer recommendations on the can and avoid humid or very cold conditions.
Use Color Strategically
Color can influence mood, space perception, and style.
Color Tips:
- Lighter colors make rooms look larger and more open.
- Dark colors add drama and warmth but can shrink a space.
- Use accent walls to introduce bold colors without overwhelming.
Tip: Use color swatches or sample pots to test how colors look in different lighting.
Pay Attention to Trim and Ceilings
Details matter. A fresh coat on trim or ceilings can make a room feel completely refreshed.
Painting Trim Tips:
- Use semi-gloss or high-gloss finish for trim.
- Tape edges carefully for crisp lines.
- Use a smaller angled brush for control.
Tip: Paint the trim first, then the ceiling, and walls last.
Consider Eco-Friendly Paints
Low-VOC and zero-VOC paints are safer for indoor air quality and better for the environment.
Benefits:
- Less odor
- Fewer toxic emissions
- Better for homes with kids or allergy-prone residents
Tip: Look for GREENGUARD-certified or Green Seal-approved products.
Clean Up and Store Leftovers Properly
Good cleanup is essential for maintaining your tools and minimizing waste.
Clean-Up Checklist:
- Wash brushes and rollers immediately after use
- Dispose of paint properly (check local regulations)
- Store leftover paint in a cool, dry place with the lid sealed tight
Tip: Label cans with the room name and date for future touch-ups.
Conclusion
Painting your home’s interior doesn’t have to be overwhelming. With the right tools, techniques, and planning, anyone can achieve a beautiful, professional-looking finish. Whether you’re refreshing a single room or doing a full-house update, these interior painting tips will ensure your walls look amazing and last for years to come.
FAQs
Q: Can I paint over old paint?
Yes, as long as the old paint is in good condition. Clean the surface, sand lightly, and apply primer if needed.
Q: What’s the best time of year for interior painting?
Spring and fall are ideal due to mild temperatures and lower humidity levels.
Q: How many coats of paint are necessary?
Typically, two coats are recommended for full coverage and color depth.